Disk Performance Tips for VMware Workstation
Lately I’ve been doing a lot of research with virtual machines created in VMware Workstation. And one of the first things you become conscious about is that disk performance in your virtual machine is far from being ideal. Don’t be too quick to blame VMware though, there’s quite a few reasons related to poor I/O, and that’s why I decided to give you a few tips to achieve maximum performance.
1. Pre-allocate virtual disk space
By default, your VMware Workstation doesn’t pre-allocate space for the disks of your virtual machine. This means that as demand for more space inside your VM grows, new storage units are being reserved by VMware Workstation and allocated from the host OS filesystem.
Naturally, such an approach is very expensive performance-wise, but it’s used by the default because it helps you save up space on your host OS filesystem – your virtual machine will only use up as much space as it needs rather than pre-allocating the whole agreed volume of the virtual disk.
Pre-allocation is one of the easiest ways to achieve best performance in VMware Workstation VMs – it creates the file before you get to run your VM, which means when the space is required, your VM will simply use portions of its virtual disk file, without having the VMware Workstation allocating new storage blocks from the host OS filesystem.
Here’s how a dialogue might look (this is a VMware Workstation 5 screenshot, but it should look similarly in VMware Workstation 6 as well):
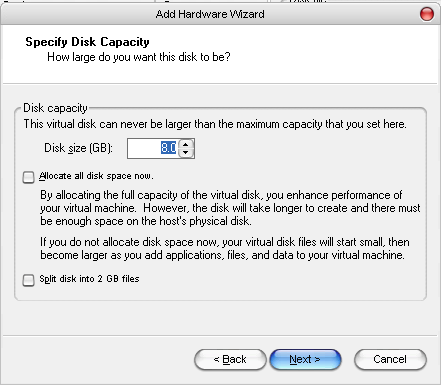
Simply tick the “Allocate all disk space now” option.
2. Disable automatic file protection in your anti-virus software
Quite often, the reason you have a less than perfect I/O in your virtual machine is because you have an anti-virus software actively monitoring your host OS filesystem, and every time VMware Workstation access the virtual disk of your VM this file needs to be scanned by the anti-virus software.
Luckily, you can exclude certain files or directories from being scanned by your anti-virus, and in our case simply making sure .vmdk files are skipped is enough to improve the performance.
In Symantec AntiVirus, this is done using the File System Auto-Protect dialogue:
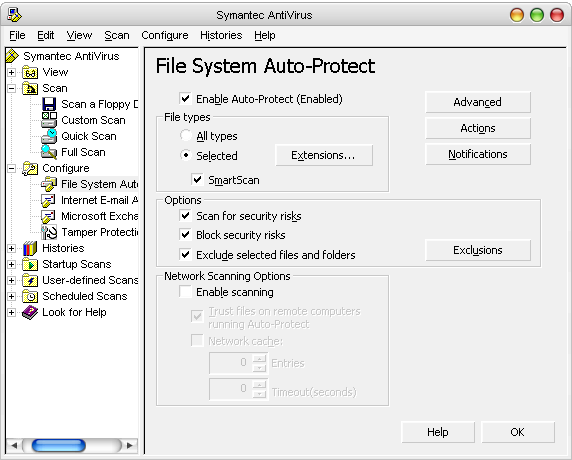
As you can see, there’s a special option there: Exclude selected files and directories, which is not active by default. Once you turn this option on, the Exclusions button to the right of it becomes active (it’s greyed out on this screenshot as you can see).
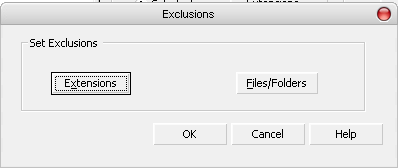
Clicking the button will give you two options: specify the extensions of the files you’d like to be excluded from the auto-protect, or simply point out the files and directories in your filesystem which should be ignored.
Speaking of VMware Workstation, it’s probably easier for you to make the .vmdk extension ignored – this will take care of all the virtual machines and their virtual disk files, wherever they are – you won’t have to specify exact directories, and if you ever move your virtual machine to another directory or disk, you won’t have to change any of these exclusion options again.
The extensions dialogue looks like this:
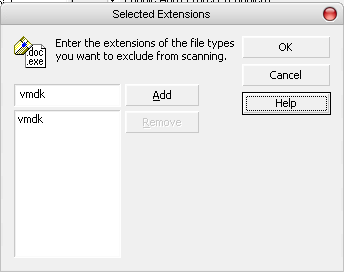
Simply specify the extensions you want ignored, and you’re done!
3. De-fragment the host OS filesystem with files for your VMs
This is another very important step: you have to regularly de-fragment the host OS filesystem, because virtual disk files for your VMs are quite large by their nature, and therefore are likely to be defragmented.
With virtual disk space pre-allocation, your will be in a slightly better position, but de-fragmenting the host OS filesystem is still a good idea.
To make it even better, you can create a separate filesystem to store VMs, this way the amount of created/deleted files there will be minimal, thus greatly reducing the filesystem fragmentation.